This post may contain affiliate links. Please read my disclosure policy.
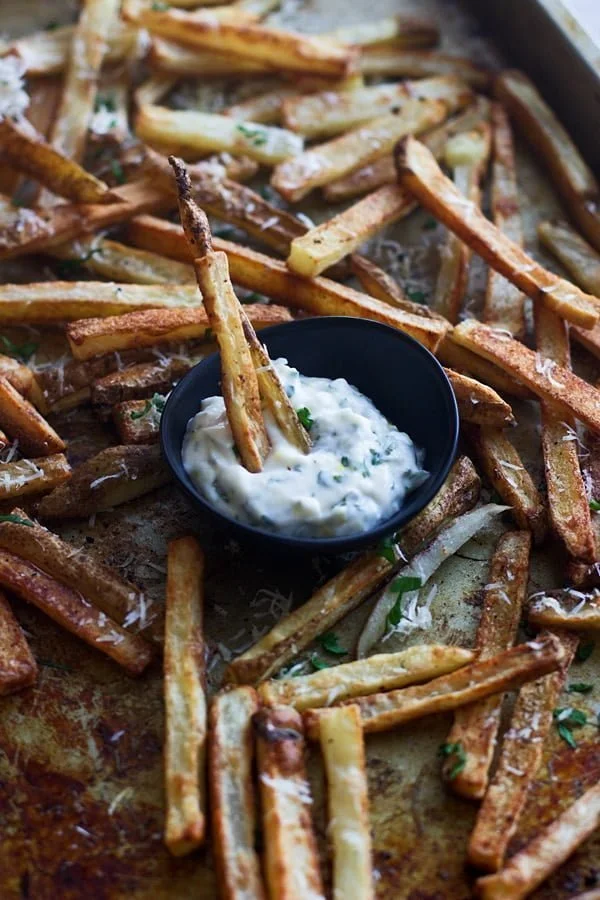
The world would be a very sad place if it weren’t for French fries.
Skinny fries. Thick-cut steak fries. Sweet potato fries. Truffle fries. McDonald’s French fries (A category in their own right). Polenta Fries. Shoestring fries. Avocado fries. The list goes on and on.
I honestly don’t think I’ve ever met a French I didn’t like, it’s one of those foods I find utterly irresistible – me and just about everyone else on the face of the earth.
While we often associate French fries as something that’s uniquely American, every single country has their own version of the French fry and a “correct” way to consume them.
United Kingdom = thick cut “chips” with malt vinegar
Belgium = French fries with mayo in paper cone cups
France = Pommes frites often served with steak
Greece = Good old-fashioned fries on gyros
Canada = Poutine
Japan = Classic McDonald’s fries seasoned with seaweed powder (not sure if I could get on board with that??)
The one thing they all have in common?? A long bath in the deep fryer.
While I’m not one to shy away from the classic preparation of the French fry, I’ve been wanting to come up with a baked version that mimics the crispy texture of the original, something I’ve found to be pretty difficult to execute. I’ve tried countless baked versions throughout the years, most of them were good, not great; however, the one redeeming quality about them is that each batch was slightly more improved than the last – an encouraging factor that kept me churning them out.
As of a few weeks ago, I still hadn’t found my baked fry nirvana, but when an impromptu healthy burger night found its way on to my meal plan a few days ago, I decided to give it another go.
And now, I can confidently proclaim, I have perfected the baked French fry.
A bold, but accurate statement.
The process is a little drawn out, due to a lengthy baking process, but I promise you, the end result is worth every minute you have to wait for these babies to crisp up.
Shall we get started?
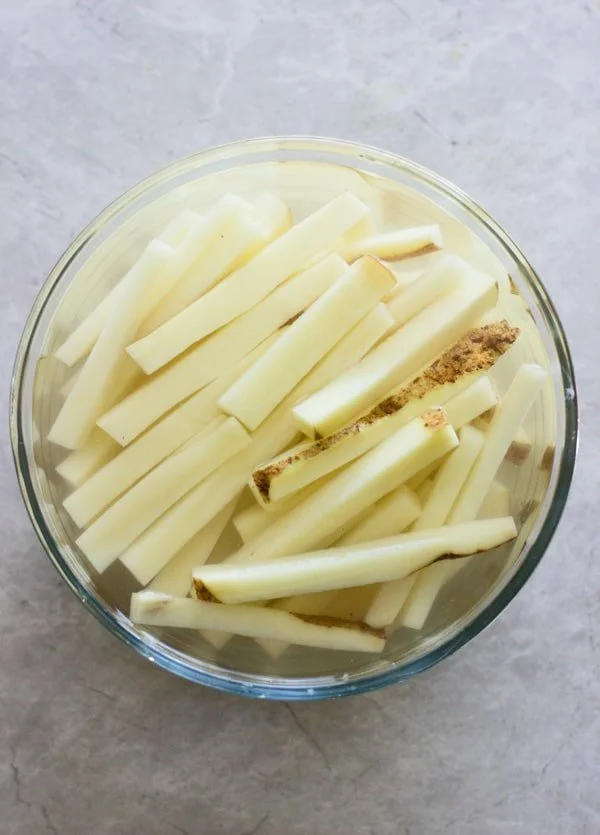
The initial step starts as most fries start, with a soak in water to draw out some of the starch inherently in the potato. Some people say to use hot tap water, but I found room temperature water to work just fine. Some recipes also require the potatoes to soak for the better part of a day or even up to 24 hours, but one hour of soaking was more than enough for me – plus I’m impatient.
The size is really up to you, but I prefer mine to be kind of in between a skinny fry and a thick, steak fry. If you cut them too thin, they almost get too crisp and don’t retain that crispy/soft contrast a fry should have. Also, I was going for a kind of rustic look, so I left the skin on, but if you want to remove the skin, go for it.
Once the potatoes soak, I take them out of the water carefully so none of the starch that settled at the bottom comes with them. I transfer the fries to a colander and rinse them one more time just to ensure there isn’t any residual starch on the exterior of the potatoes.
Before they get thrown into the oven, they’re patted dry with paper towels until there isn’t any moisture left; it’s important to get them completely dry, otherwise it will be difficult for them to crisp up to perfection.
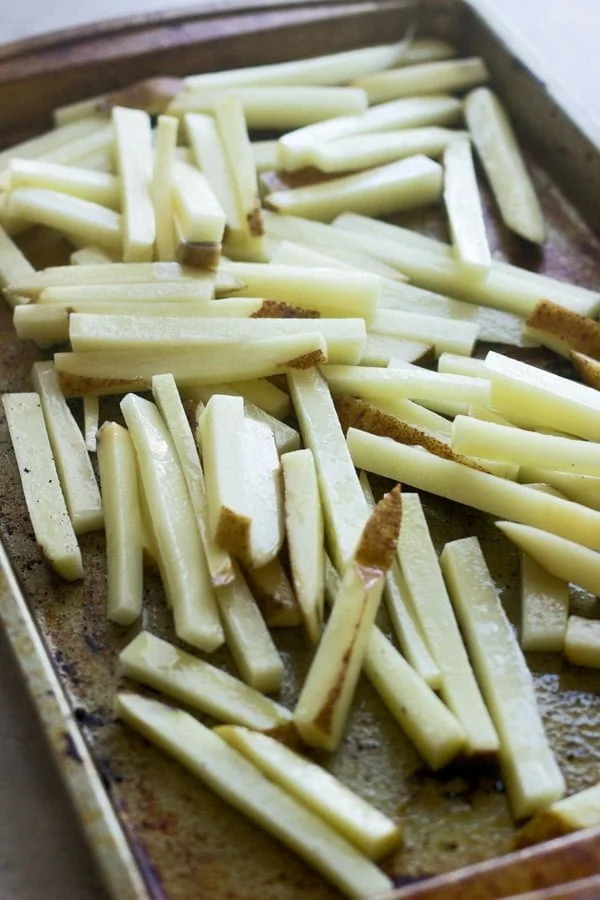
Next, I spray two large rimmed baking sheet with olive oil spray, toss the potatoes with a little bit of olive oil, salt and pepper and then line them up on the baking sheet. Now, this is very important; the potatoes must not touch each other! If they are too close together, they’ll just steam instead of brown up like you want them to. I actually needed to use two baking sheets, just keep in mind that the bottom pan will take a little bit longer to cook. Once they’re lined up, I sprinkle them with a touch more salt and then they are ready to be baked.
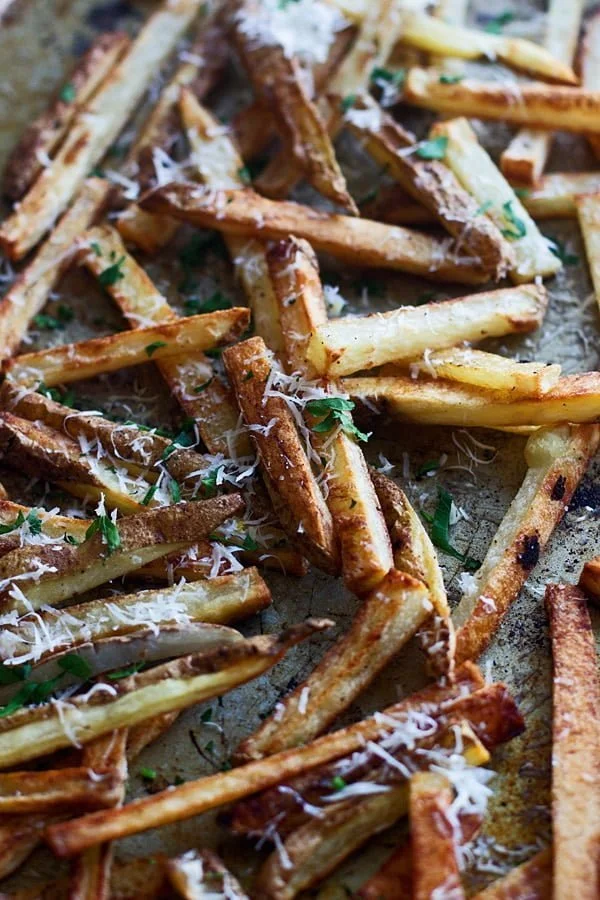
The cooking process happens in two different batches, first they’re baked at 375 degrees for 20 minutes, this just helps to fully cook the inside of the potato before we begin the browning process. My previous problem was that I tried to cook them quickly at a high temperature, which yes, will give the potatoes a crispy crust, but sometimes the inside doesn’t cook as quickly. Cooking them at a lower temperature, and then increasing it after they’ve had time to soften helps to achieve that perfectly crisp outside and soft inside we all love so much about French fries.
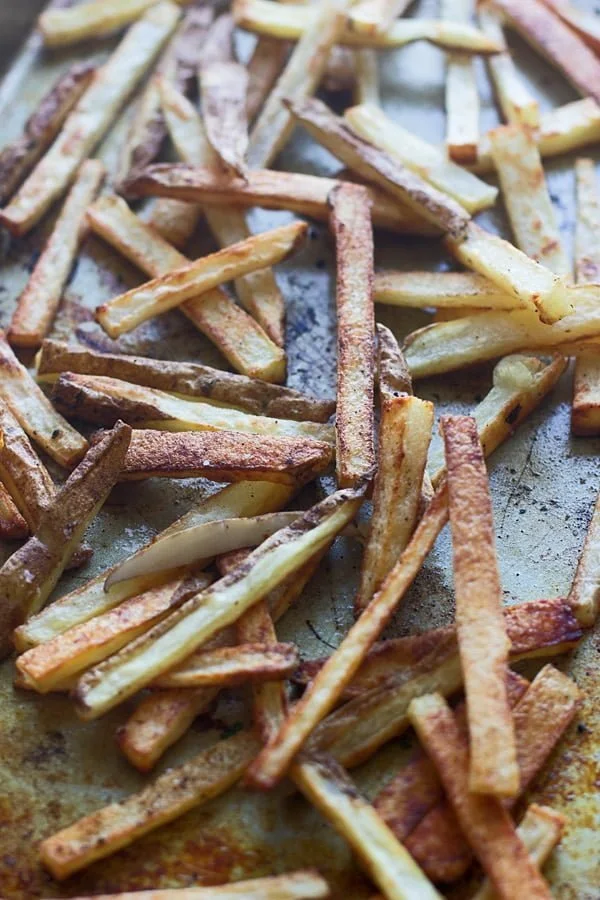
After the 20 minutes is up, the temperature is increased to 450 and the potatoes are left alone until the bottom is golden brown, then and only then are they ready to flipped. Which brings me to another important note, do NOT try to flip them before they’re ready! Don’t even touch them until you see the edges start to brown, at that point you can flip, and wait for the other side to brown. Some fries may brown up faster than others, and that’s fine, you can flip the ones that are done and remove them from the pan as they finish; pop them all back in the oven after each fry has crisped up to re-warm the loners that finished cooking early.
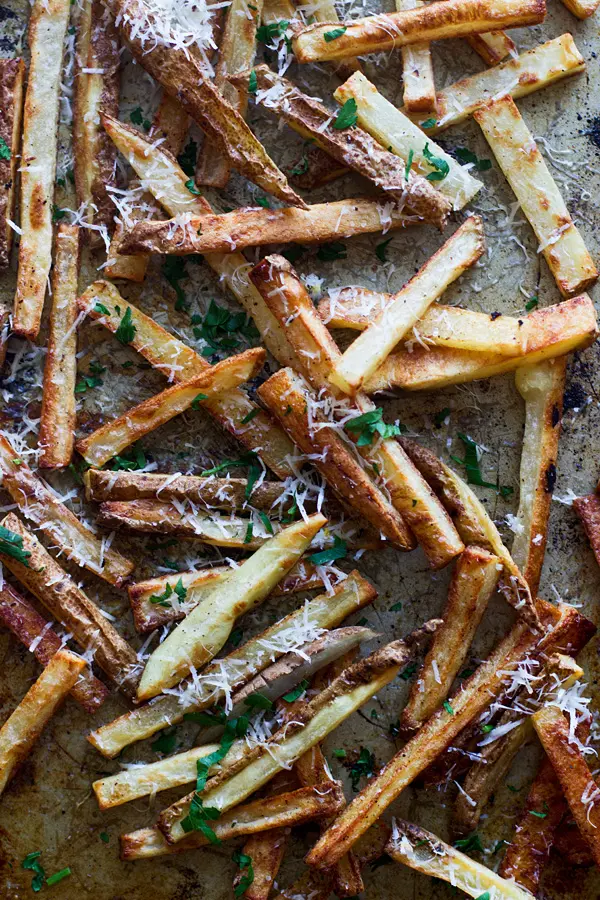
In the last five minutes or so of cooking, I sprinkle the fries with freshly grated parmesan cheese, pop it baked into the oven and then pull them out when the cheese has adhered to each fry.
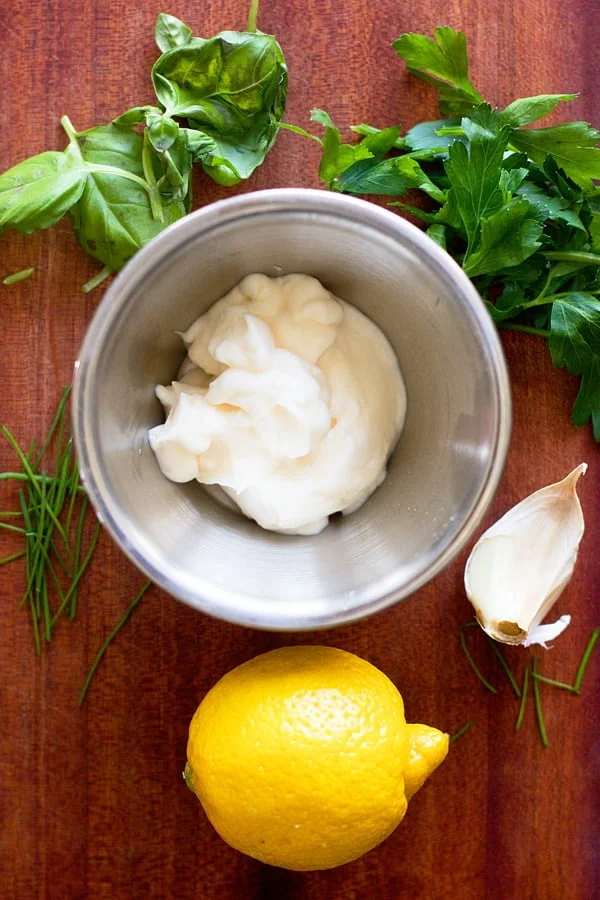
You could serve them as is with ketchup or whatever your favorite dipping sauce is, but I wanted these to be more of a snack, so I whipped a super quick “cheater’s” aioli with a little bit of low-fat mayo, lemon juice, zest , garlic and fresh herbs I had leftover – something I’d gladly slather on just about anything.
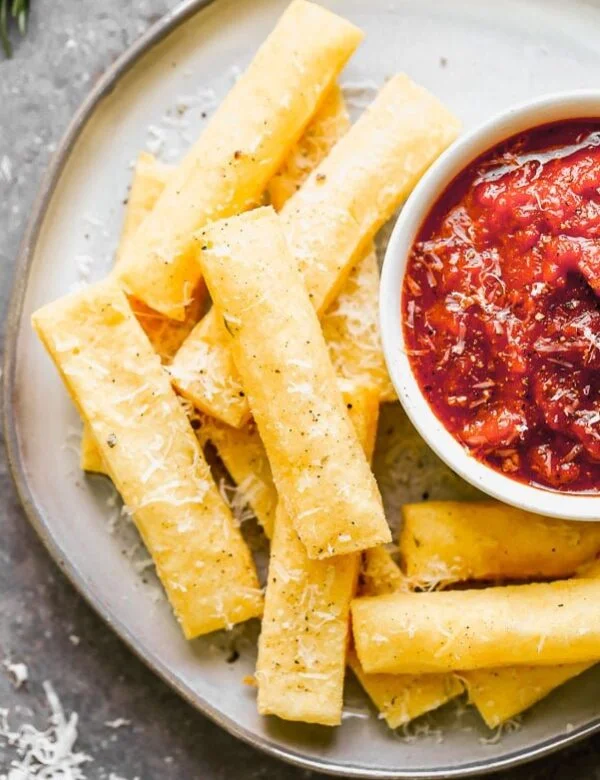
I know I’m biased, but I’m pretty sure I’ve never seen a prettier platter of baked fries in my life.

- 3 large russet potatoes cut into fry shape, they should be cut about ⅛ - ¼ inch wide
- 2 tablespoons olive oil
- 1 teaspoon salt
- ¼ cup grated parmesan cheese
- 2 tablespoons chopped parsley
- ¼ cup low-fat mayo
- 2 teaspoons chopped basil
- 2 teaspoons chopped parsley
- 1 small garlic clove
- ¼ teaspoon lemon zest
- 1½ teaspoons lemon juice
- Salt
- Preheat oven to 375 degrees.
- Place cut french fries in a bowl, fill with room temperature water. Let sit for one hour. Remove potatoes from water, making sure to leave the starch at the bottom of the bowl. Rinse under room temperature water.
- Pat potatoes completely dry with paper towels.
- Add potatoes to a dry bowl along with salt and olive oil. Toss to coat.
- Spray two baking sheets with non-stick cooking spray (preferably olive oil spray)
- Line potatoes up on the baking sheets so that no fry is touching another. Sprinkle with more salt.
- Pop into the oven and bake for 20 minutes. Increase the temperature to 450 degrees and bake other 15 minutes.
- After the 15 minutes is up, check to see if any fries are ready to flip, if they are not golden brown on the edges, do not flip them, if they are, flip. You may have to do this gradually as some fries will brown up faster than others.
- Once the fries are flipped they will take another 10-15 minutes to crisp up on the other side. Again, some fries may crisp up faster than others, so remove fries as they finish.
- Once all the fries are crispy, place all of them back on the baking sheet and sprinkle with parmesan cheese. Pop back into the oven until the cheese has adhered to the fries, about five minutes.
- Serve fries with dipping sauce.
- Combine all ingredients. Season to taste with salt and pepper.

Thao @ In Good Flavor says
These fries looks amazing—so crispy and nicely browned! The herb aioli is such a perfect accompaniment. Pinning.
Nicole says
Thanks Thao!
Thalia @ butter and brioche says
These fries definitely do look INSANE. I am a massive fan of thin and crispy fries like this – so if I was to make the recipe… they definitely would not last for very long!
Nicole says
Nope, they definitely don’t last long! Thanks Thalia!
Laura (Blogging Over Thyme) says
I’ve totally struggled with baked fries too, and getting them crispy enough, but I LOVE your tips!!! I can’t wait to try them! It’s been WAY too long since I consumed some fries 😉
Nicole says
Only one more week and you’re home free!!
Elena @ Giftaholic World says
One Poutine, please! Your fries recipe is insanely amazing. How could I possibly eat the skinny fries “model” at fast food stand? Nicole, I need this for my everyday diet.
Nicole says
Thanks Elena!
Chris @ Shared Appetite says
What an awesome post! Love how you explained your process… I don’t make french fries NEARLY enough b/c I’m not a fan of deep-frying in the house (messy and smelly!). But now that I have this kick-butt baked approach, I’m totally making these all the time!
Lynnette says
Argh! These look amazing. I am totally making these for our movie night tonight. Good advice re: not having the potatoes stick next to each other, I did that once and I had to make mash out of my batch of potatoes. They certainly look very crispy indeed! x