This post may contain affiliate links. Please read my disclosure policy.
If I had a dollar for every time I’ve been asked, “Where do you get your inspiration from?” I’d be one rich chick. The truth is, inspiration comes from everywhere, literally. Smells, books, restaurants, travel, color palettes, television and random spurts of inspiration are just some of the ways ideas materialize in my head. It can be 2pm in the afternoon or 2am in the morning, it doesn’t matter what time of day it is, where I go or what I do, I’m constantly thinking about food and feeling inspired.
Inspiration for today happened a few months back when I went out to a Greek restaurant with a bunch of my girlfriends – one where belly dancers take stage and breaking plates at the end of the meal is actually acceptable. At the time we were the youngest group of all girls in the family-heavy restaurant, so naturally the 80-something year old owner took an interest in our table by showering us with ouzo and generously providing a couple of desserts for the entire table. Of course, the downside to being the only pregnant girl in the group is I had to skip out on the, but the upside to being the only pregnant girl in the group is that everyone was much more interested in the free liquor than the free desserts. So I did what anyone would naturally do when taunted with off-limits free liquor, I drowned my sorrows in dessert.
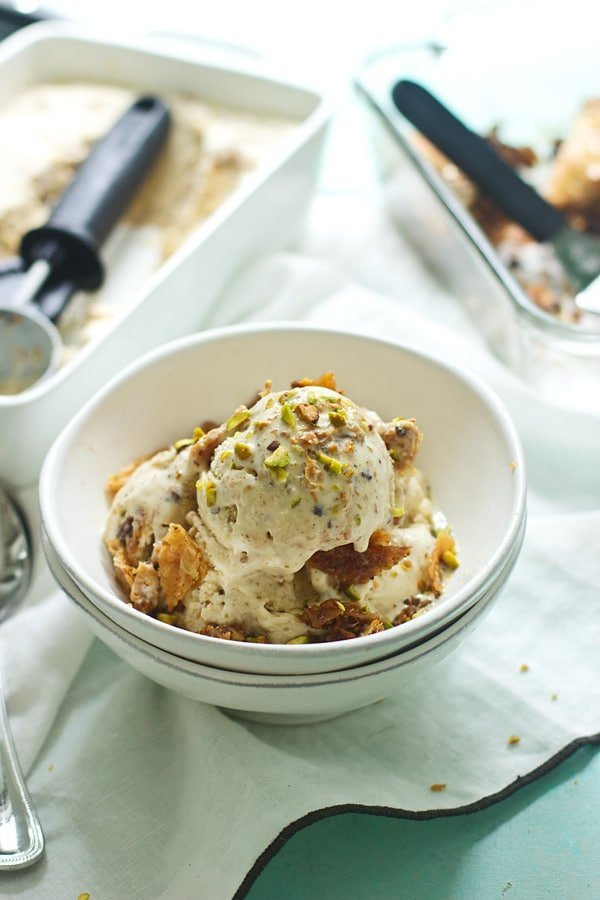
At first glance, I wasn’t overly impressed with the dessert they gifted us; it was merely a puddle of vanilla ice cream with chopped up baklava on top, not exactly earth-shattering stuff. But then…I took a bite, and holy cow. Dessert heaven. Now, I’ve been a fan of baklava since I was a little girl, but the combination of baklava and ice cream was pretty out of this world.
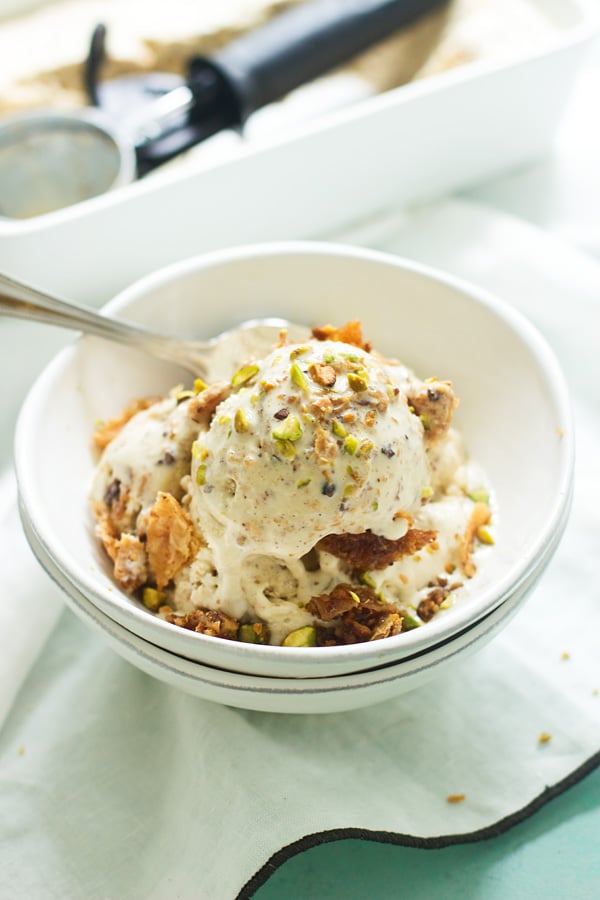
I could have simply replicated the dessert at home by buying store-bought vanilla ice cream and baklava, but what I thought would be even better? An actual baklava ice cream…made from scratch, of course.
Now, I won’t lie to you, this is a somewhat labor-intensive process, not difficult by any means, but it’s definitely something you’re going to have to set aside some time for.
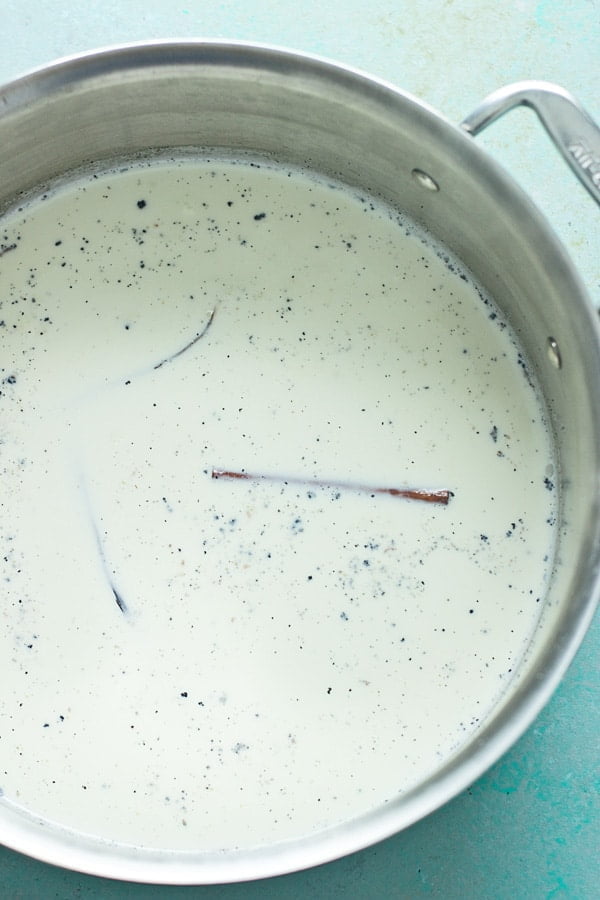
I stuck with the same ice cream base I typically use when making homemade ice cream which is a two to one ratio of whole milk to cream, sugar and egg yolks. I like this combination not only because it takes down the fat just a touch, but isn’t as heavy as a 100% cream based ice cream. After that, the flavor combinations are endless, but here I really wanted to keep the base simple, but also incorporate some of the flavors of baklava, so I added in one whole vanilla bean and a cinnamon stick to really infuse the custard.
To start, the milk, cream, vanilla and cinnamon are heated up in a saucepan to just under a simmer, in the meantime, the sugar and egg yolks are whisked together in a separate bowl until they’re light and fluffy. Once the milk mixture comes to temperature, about half of the milk is whisked into the egg and sugar mixture to bring the temperature up and prevent the eggs from curdling. It’s then whisked back into the remaining milk and cream.
Here is where most people lose their patience and forever swear off ice cream making, so pay attention closely. Once you whisk the eggs into the hot milk, the temperature needs to be turned down to a medium-low to low heat, and needs to be stirred with a wooden spoon almost constantly. If the temperature of the mixture gets too hot, the eggs will curdle and you’ll have to start all over. Patience is key here. I’ve made homemade ice cream a hundred times, so I have a pretty good gauge on when it’s ready, but if you’re nervous, buy a candy thermometer, and once the mixture reaches 170 degrees, take it off the heat. The custard should be able to coat the back of a spoon, and when you draw a line through it horizontally, the two sides should stay in place.
Once the mixture comes to temperature, I immediately transfer it to a chilled bowl sitting over ice water. It gets popped into the fridge and chilled overnight.
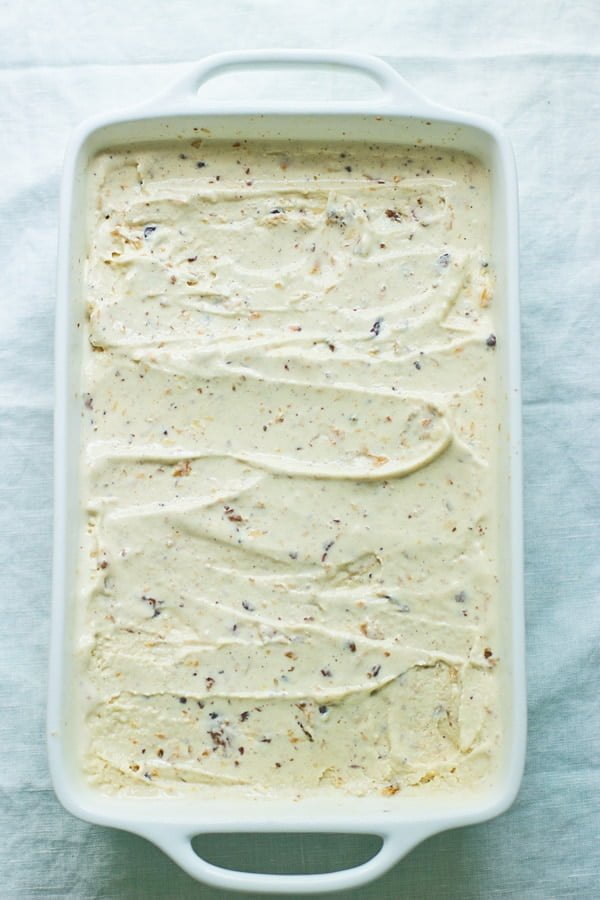
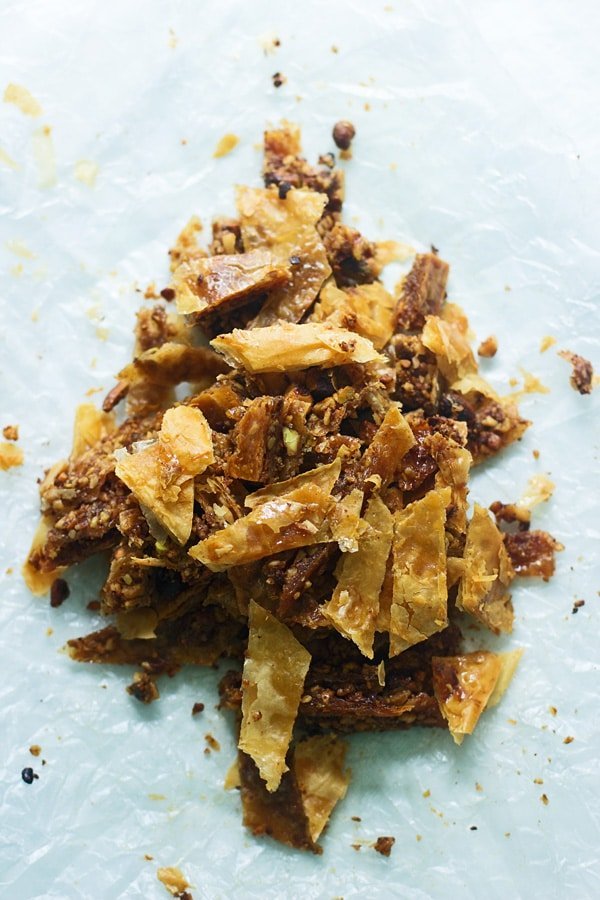
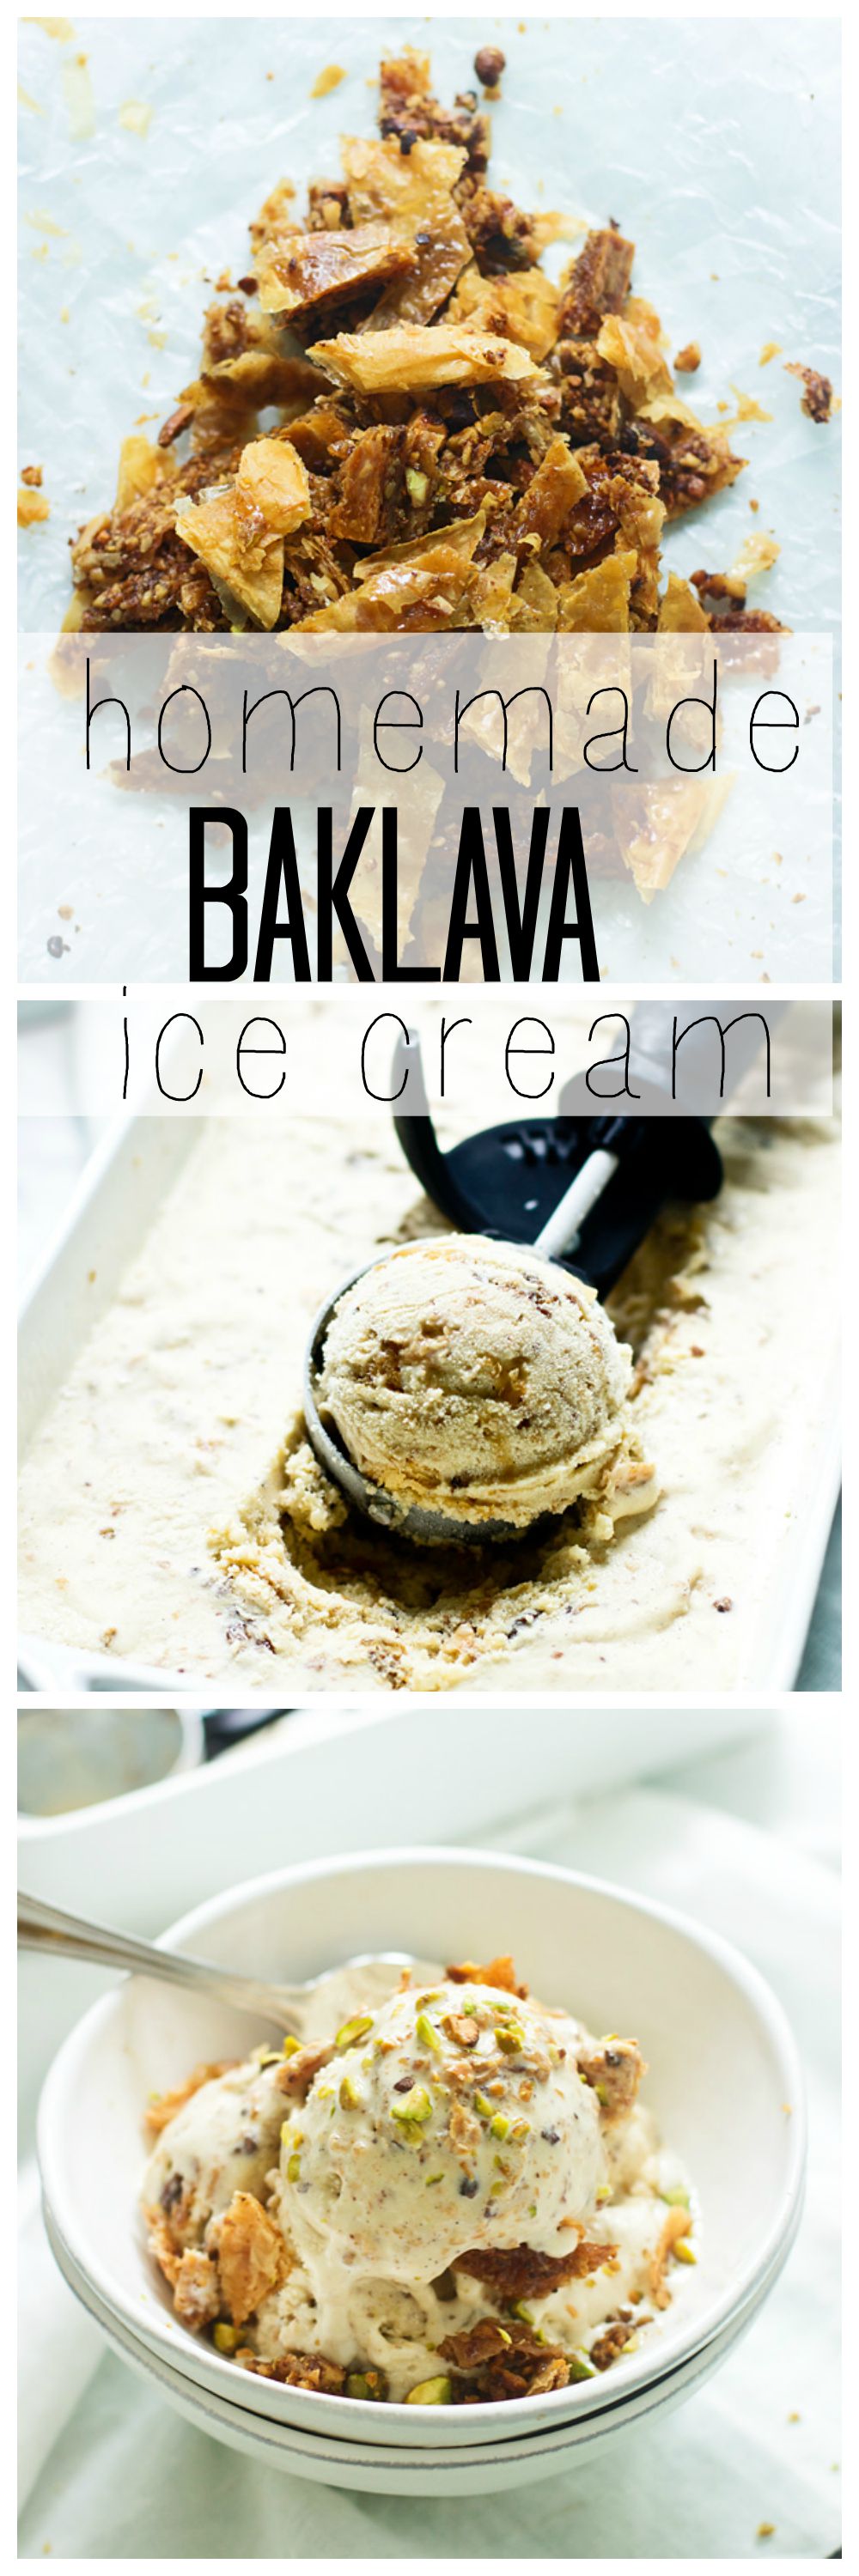
While the custard portion of the ice cream chills, I make the baklava portion, which is just a condensed variation of my favorite baklava recipe. Layers of phyllo dough are brushed with butter, then sprinkled with a pistachio, walnut and cinnamon mixture, cut into squares (the shape really doesn’t matter because we are going to crush the baklava once it’s baked) and baked until the dough on top is golden brown and crispy. Immediately upon coming out of the oven the hot phyllo and nuts are drowned in a lemon and honey simple syrup and let to sit overnight so the syrup can seep into every single crevice of the dough and nuts.
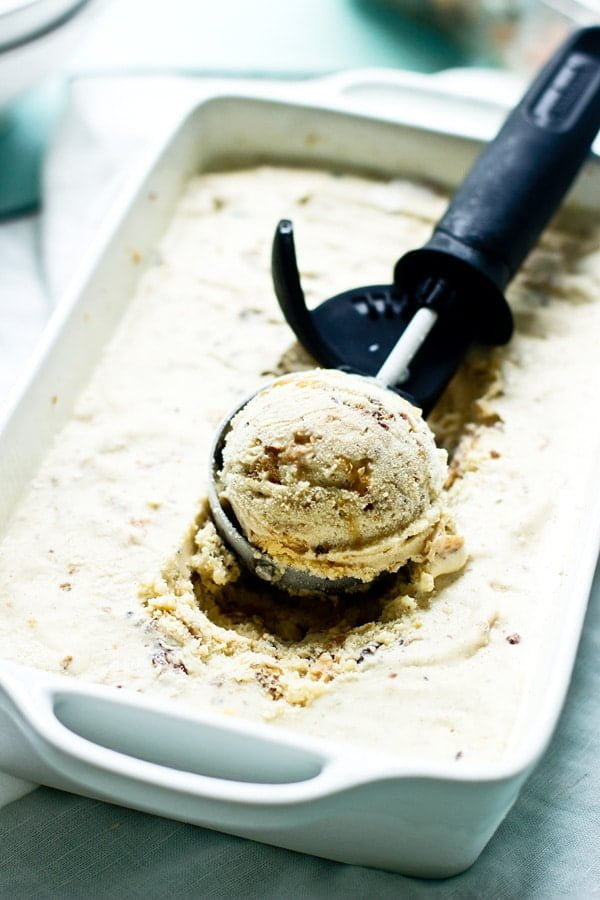
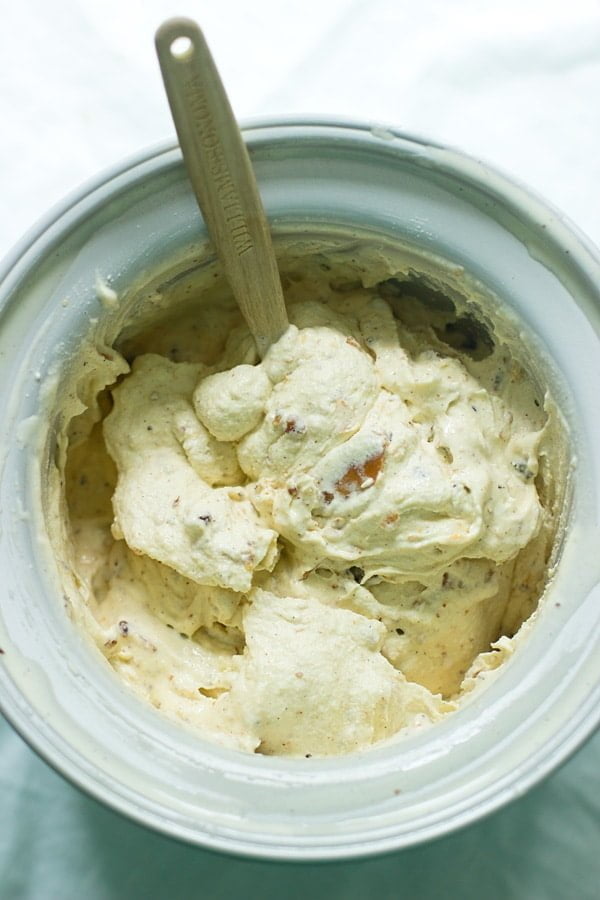
As you can see, you have to start the day before since everything needs to chill out overnight, but the good news is, you’re pretty much good to go after that point. The next day, all you have to do is dump the custard into the ice cream maker, turn it on and once it’s almost fully formed, the baklava is broken up into different sized pieces and sprinkled into the ice cream while it’s still churning.
Again, I know this seems like a ton of work for little reward, but the time and effort is SO worth it. This is literally one of the best ice creams I’ve ever made, let alone, tasted in general, plus where on earth can you get baklava ice cream??? NO WHERE.
You might be cursing me during the process, but trust, me, you’ll thank me later!!
- 2 cups whole milk
- 1 up heavy cream
- ¾ cup sugar
- 1 cinnamon stick
- 1 vanilla bean
- 6 egg yolks
- ¾ cup walnuts
- ½ cup pistachios
- 2 teaspoons cinnamon
- ½ roll of phyllo dough (12 sheets)
- 3 tablespoon butter, melted
- ½ cup sugar
- ½ cup water
- ¼ cup honey
- 1 ½ tablespoons lemon juice
- Place your ice cream base in the freezer the day before you want to make your ice cream.
- In a medium saucepan, add milk, cream, vanilla bean, seeds and cinnamon stick. Bring to a simmer. Reduce the heat to low.
- In a medium bowl, whisk egg yolks and sugar until pale yellow in color, about two minutes.
- Slowly whisk in about ½ of the hot milk mixture into the egg yolks to bring them up to temperature. Whisk the warm egg mixture back into the milk.
- Using a wooden spoon, constantly stir custard mixture until it thickens, about five minutes. MAKE SURE THE MIXTURE DOES NOT BOIL. If the temperature gets too high, the eggs will curdle. The custard is finished cooking when it coats the back of a spoon and does not drip when you draw your finger across.
- Transfer mixture to a bowl and let cool for about 30 minutes.
- Place a piece of plastic wrap directly on the custard and store in the fridge overnight.
- Preheat the oven 400 degrees. Grease a square baking dish with non-stick cooking spray.
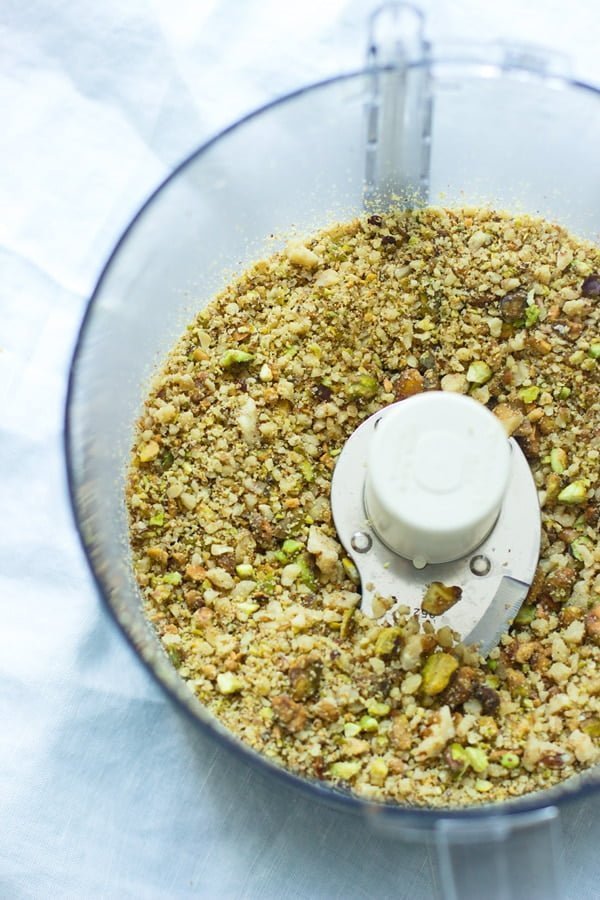
- Place walnuts, pistachios and cinnamon in a food processor. Pulse until the nuts are almost all crushed, but still have a few bigger pieces.
- Take the 12 phyllo sheets and cut in half. Place one piece of phyllo in the bottom of the greased dish. Brush with butter and top with another piece of phyllo. Repeat seven more times for a total of 8 pieces of phyllo. Brush top with butter and then sprinkle with ⅓ of the nut mixture. Top with another piece of phyllo. Brush with butter. Repeat three more times for a total of four layers. Sprinkle with ⅓ of the nut mixture. Top with another piece of phyllo. Brush with butter, repeat three more times for a total of four layers. Brush top layer with butter. Sprinkle remaining nuts on top and top with another layer of phyllo. Brush with butter. Repeat seven more times for a total of 8 layers. Brush top layer with butter.
- Cut baklava into 16 squares. Bake until golden brown, about 45 minutes.
- While the baklava is cooking, make the syrup. In a medium saucepan, heat sugar, water, honey and lemon juice to a boil. Reduce to a simmer and cook until thickened, about 5 minutes.
- Once the baklava comes out of the oven, let rest for 1-2 minutes then pour syrup over the top. Cover with plastic and let the baklava sit overnight.
- Roughly chop up the baklava.
- Pour the custard into the ice cream maker. (Use your ice cream maker’s instructions.) When the ice cream is almost completely done, slowly add in ¾ of the baklava. Mix until combined and the ice cream is fully formed.
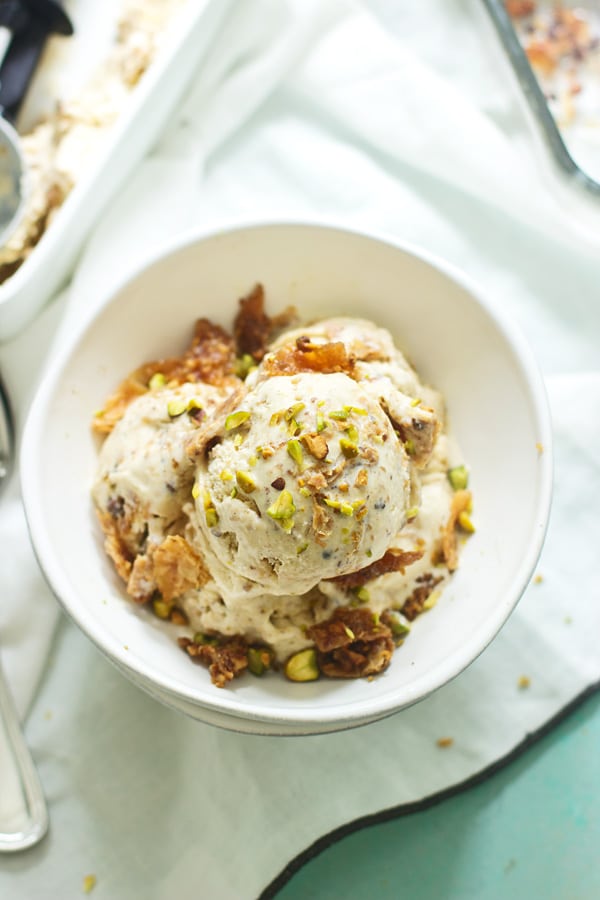
- Transfer to an airtight container and freeze. (You can also eat it right away, it will just melt faster.) When serving, sprinkle a little bit more of the baklava on top.
Stephanie @ Girl Versus Dough says
I. CAN’T. EVEN. HANDLE. THIS.
Nicole says
<3
Claudia | The Brick Kitchen says
Aaah this looks incredible!! We were in Turkey in the holidays and ate truckloads of baklava, which is often served for dessert with a scoop of ice cream – I made my own baklava when I got back but didn’t quite progress to the ice cream stage unfortunately. This looks amazing though, will definitely give it a go! I just love that you made your own ice cream and baklava as well from scratch, so much more authentic than buying the components and mixing them.
Nicole says
You have to try it Claudia!! SOOOO good!!! Especially if you’re a baklava lover!
Nicole says
My boyfriend is a huge baklava lover! He will go crazy when he see this ice cream! Looks amazing… best idea eveeeer! Thank you so much for sharing this priceless recipe with us!
Nicole says
Thanks Nicole!! Seriously, this was the best ice cream I’ve ever made. You have to try it!
Vivian says
Hi Nicole,
Looks WOOOOW!! , I really want to try it next weekend, I have some doubts though: the baklava won’t get mushy if sits overnight covered in syrup? how long in advance can I prepare it, I would like to make it on a Thursday to serve on Sunday, and since mine has to be dairy free do you think I can use a store bought dairy free ice cream and just add the homemade baklava?
thanks!!!
Vivian says
Hi Nicole,
I really, really want to try this ice cream! I have some doubts though: The baklava wont get mushy sitting covered in syrup in the fridge all night? Since ours has to be dairy free, do you think I can buy the ice cream and then just add the homemade baklava? and how long in advance can I prepare and leave it in the freezer?
Thanks!!
Vivian
Nicole says
Hi Vivian!! You actually don’t want to put the baklava in the fridge, it sits out overnight at room temperature. And yes, the syrup will penetrate the phyllo dough, so it won’t be as crispy as it would be without the syrup, but that’s exactly how baklava is supposed to be. Trust me, it’s delicious! If you want it to be crispier, you can just let it sit for less time, maybe an hour or two. I would imagine that you can buy dairy free ice and add the homemade baklava. It might be more difficult since the ice cream maker won’t be doing the work for you (it also helps to break up the pieces). I think it could stay in the freeze in an airtight container for up to a week before. I made mine a few weeks ago and it’s still in my freezer, just as delicious as ever!
Emily Schaechterle says
Burnt my baklava to a crisp. Would not recommend leaving it in for 45 minutes at 400 degrees.
Ice cream tasted good though!
Mary says
I’m soooooo glad I popped into the kitchen after cooking the baklava for about 22 minutes! It was already very dark, but thankfully not burnt.
Cheryl says
There’s a cafe on the island of Santorini that sells baklava ice cream. Definitely the best ice cream I’ve ever had.
This recipe looks a good one to try, worth all the effort.