This post may contain affiliate links. Please read my disclosure policy.

I’ve always been slightly infatuated with risotto – both eating and cooking it. The starchy, creamy grains of rice are like butter to the palate, but the toothsome finish of the aldente center gives the perfect element of texture – a winning combination.
I can’t remember the first time I ever tried risotto at a restaurant, but I still vividly recall the first time I tried my hand at it at home. Although, now that I think about it, perhaps I hadn’t even tried it at a restaurant at that point, after all, I was only 9 or 10 at the time –I think I may have seen it in an issue of Bon Appetite or some other magazine equivalent. Regardless of what triggered my first risotto making experience, it was not a pretty one.
I slaved over the stove for the better part of an hour, willing the risotto to cook, and all I ended up with was a big pile of mush, albeit tasty mush, but mush nonetheless. After about 50 minutes of stirring, I was done, and vowed to leave the risotto making to the professionals and Italian grandmothers of the world (of which I knew none).

It wasn’t until a year or so later when I was watching some sort of cooking show that I realized what my mistake was – not using hot liquid to cook the rice. It makes sense, if you add cold liquid to something hot, the temperature is going to be reduced, in turn, making the cooking process substantially longer. And of course the longer the rice takes to cook, the mushier the end product is.
Since then I’ve been diligent about keeping a simmering pot of chicken stock or water directly next to the pan I cook the risotto in, so I’m always prepared when the liquid is soaked up and ready for more. I’ve been using this method for the better part of the last two decades, and the results? Perfect risotto every time.

Because I’m now a self-proclaimed risotto master, I’m quite picky about it when dining out at restaurants. My absolute biggest pet peeve is when the risotto comes out in one big clump, chocked full of cheese and not even remotely resembling the risotto I’ve come to know and love – if I wanted cheesy rice casserole, I would have asked for it. Risotto should be irresistibly creamy, not congeal together. It should slide off your spoon, not stick to the back like glue. It should be soft on the outside, yet toothsome on the inside.
What makes risotto, risotto, is the starch. Arborio rice tends to have more starch than other long-grain rice varieties, so when you add the hot liquid while continually stirring, the starch in the rice is slowly released, producing that creamy texture we all love about risotto. It’s not something that’s hard to achieve, it can just be a little time consuming, and after a few practice sessions, it becomes almost second-nature.

When I was reading the latest issue of Bon Appetit, I stumbled across a recipe for a “low-maintenance” risotto, that didn’t require you to hover over the pan, stirring constantly. I was intrigued, yet totally unconvinced that it would produce the same result as a traditionally cooked risotto. So I gave it a go.
I was very pleasantly surprised. The idea is that you do the stirring at the beginning and end of the cooking process, coercing that starch to come out early, but doing the majority of the cooking hands-free in the oven. The beginning starts as most risottos do, with a little bit of onion and garlic sweated out in a touch of butter. At this point the rice is added in, and cooked for a little bit in the butter and veggies. A splash of dry sherry is poured in, and the stirring begins. Once all of the liquid evaporates, the majority of the chicken stock is added, and the whole dish is popped into the oven until the rice is just under aldente.

The rice is then put back on the stove and the remaining chicken stock is added, and then stirred constantly until the liquid has almost evaporated. At this point you can go any direction you like, but I loved the idea of adding a winter-inspired pesto for a creative twist on traditional risotto.
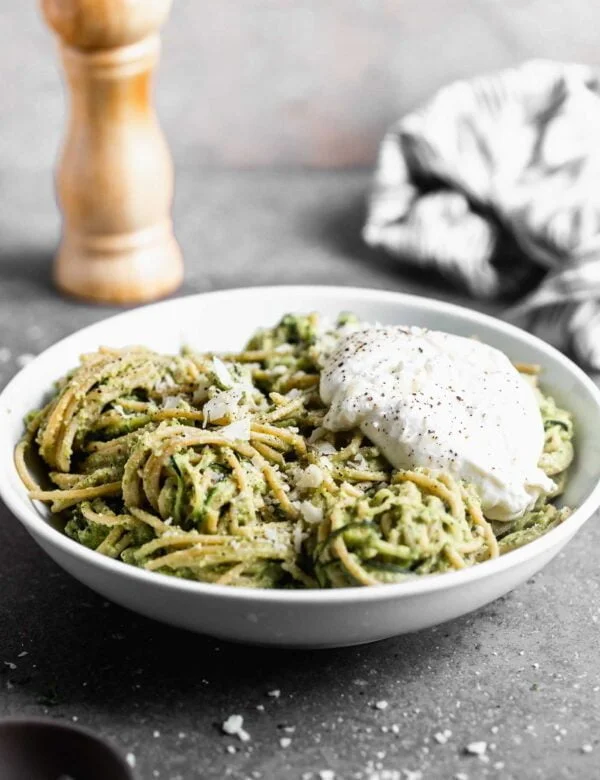
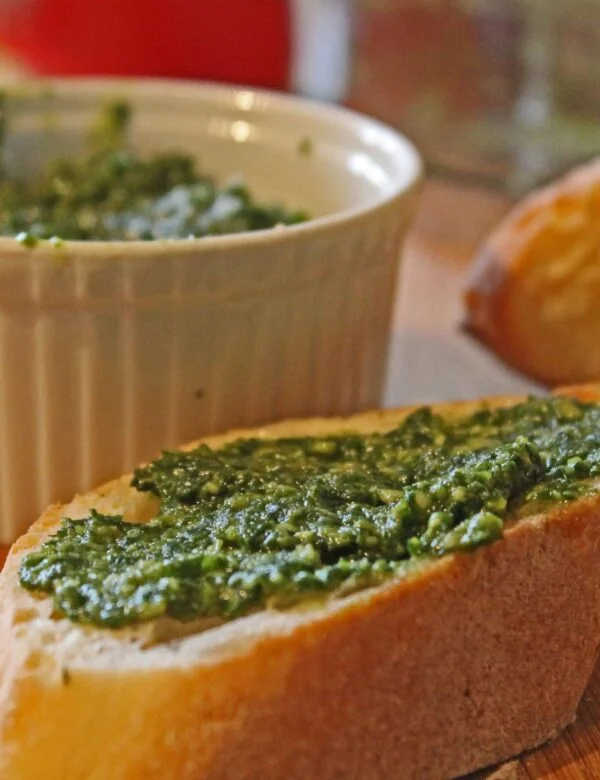
Very similar to this broccoli pesto I made a while back, but more simplified in its ingredients and process, today’s broccoli pesto is just steamed broccoli florets, a little bit of garlic, parmesan cheese, canola oil and a touch of chicken stock. It’s quickly thrown together in the food processor and then folded into the creamy risotto along with a pat of butter to finish it all off.
This “shortcut” version didn’t have the PERFECT texture that I love in my risotto, but it came pretty darn close, scary close. It’s a great option for those of you that love risotto, but just don’t have the time or patience to babysit it over the stove.

While I do adore risotto, I don’t find that it’s a complete meal without some sort of protein attached to it; here, perfectly seared scallops complete the meal.
I feel like scallops are another one of those items that people are a little bit afraid to cook with, but they’re deceptively easy to prepare. Here are a few steps to ensure perfectly seared scallops:
1. Pat them dry! You will not get that perfectly crusty outside if the scallops have any remnants of moisture on them.
2. Start with a hot pan. You want the pan to be fully preheated before you set the scallops in the pan, otherwise they will just steam, and worse, stick to the bottom of the pan.
3. Once you set them in the pan, do not touch them. The great thing about searing is, the pan will tell you when they need to be turned, as they’ll release on their own.
4. Season well: Do not skimp on the seasoning. Season each side liberally with salt and pepper.
5. If you can, use a cast-iron skillet. A seasoned cast-iron skillet gives perfectly seared meat and seafood every single time, plus it allows you to use a little bit less fat than you normally need to use.

What I love about this is that from start to finish, the meal takes less than 45 minutes to throw together and is seriously impressive. In fact, it would be the perfect meal to serve to your sweetheart for Valentine’s Day, and trust me; they WILL be impressed, and completely satisfied.

- 2 ½ tablespoons unsalted butter
- 1 small onion, diced
- 1 garlic clove, minced
- 1 cup arbario rice
- ½ cup dry sherry
- 1 ¾ cup chicken stock, divided
- 1 cup water
- 1 parmesan cheese rind
- 2 ½ cup broccoli florets
- ¼ cup parmesan cheese
- 1 garlic clove
- ¼ teaspoons salt
- 3 tablespoons chicken stock
- 2 tablespoon canola oil
- Pepper
- 12 sea scallops
- 1 teaspoon butter
- 1 teaspoon olive oil
- salt and pepper
- Preheat oven to 350 degrees. Heat chicken stock in a pan to a simmer. Keep hot.
- In a large, oven-proof sauté pan, heat 1 ½ tablespoons of the butter over a medium heat. Add onion and garlic. Sweat until softened, about 2-3 minutes. Add rice, sauté another 1-2 minutes, stirring constantly.
- Add dry sherry, and stir constantly until the liquid has evaporated.
- Add 2 cups chicken stock and stir constantly for one minute. Cover and pop into the oven. Cook for 12 minutes until most of the liquid has been absorbed and the rice is just under aldente.
- While the rice is cooking, make the pesto. In a food processor, pulse steamed broccoli, garlic, parmesan and salt. With the mixer on, slowly add oil followed by chicken stock. Once the mixture is combined, season with salt and pepper. Set aside.
- Once the rice comes out of the oven, return the pan to a medium heat. Add in remaining chicken stock and stir constantly until most of the liquid has been absorbed, but the risotto is still very creamy. Add in pesto and butter. Stir until combined.
- Pat scallops dry thoroughly with a paper towel. Season with salt and pepper.
- Heat a cast-iron skillet over a medium-high heat until very hot. Add butter and oil. Add scallops and sear until golden brown and crusty on both sides, about 1-2 minutes per side. Do not try to turn them until they release from the pan.


Mike Cupido says
Great recipe. Added a bit more garlic, chillies and fresh chopped mint at the end. Beautiful. Well done, Nicole.